Hello all,
I used a slightly older version of Virtualization Manager (6.10) when I got it going and documented it in my article. That will not negatively impact you when you are installing at all. However, it does mean that we now have an update article for Virtualization Manager or VMan as it is known by those in the SolarWinds world.
So lets get it done!
Prerequisites
- bits - found here - you do need an account but should have one if you are doing an upgrade. Make sure to download the last choice in the list that mentions Upgrade ISO.
- release notes - are here.
- You will need to extract the ISO from the zip you downloaded above and copy it up to the VMware ISO datastore location. This is different from the SolarWinds people but it makes more sense for VMware people and will be just like you upgrade other VMware products like perhaps vSphere Replication.
- Change Control window as there will be an outage with this work - less then 15 minutes if you prepare for it as I did.
Upgrade
- You will need to use the C# or vSphere Web Client to upload the ISO to the ISO location you have in your VMware Infrastructure.
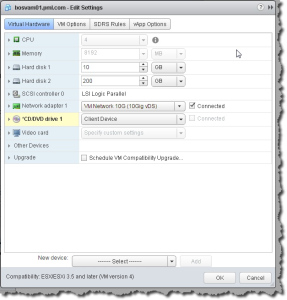
- Once that is done you can connect the ISO to the VMan appliance. You can see that below - I have used the vSphere Web Client.
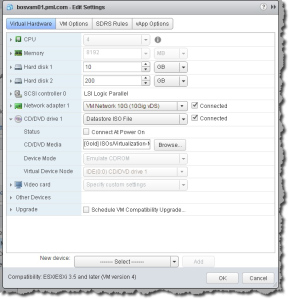
- Note I have not selected Connect at Power On? That is in case I forget to remove this ISO connection and a power reset occurs. Don’t want the VMan appliance to not boot up!
- Once you hit OK the ISO is connected to the appliance and we are ready for the next step.
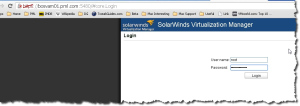
- Now we connect to the VAMI console of the appliance - at https://fqdn:5480 and log in.
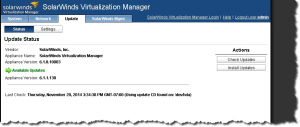
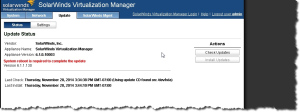
- Now change to the Update tab and select Check Updates. Once that finishes you should see something like below.
- Next we use the Install button and let it update.
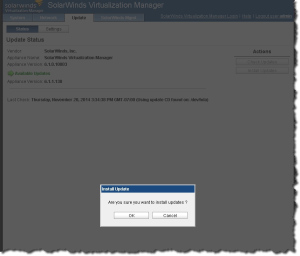

- After a few minutes you will see the following.
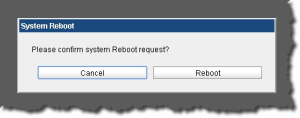
- Now we restart. Change to the System tab.
- Press Reboot.
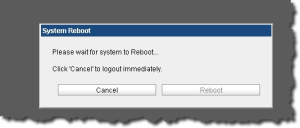
- Now use Cancel to log out and wait for things to come back.
- While we wait for the appliance to restart lets remove the ISO from the VM.
- After 5 or so meetings lets log in and see how things went. When I logged in using my own account, which is admin equivalent I got this.
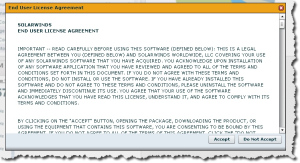
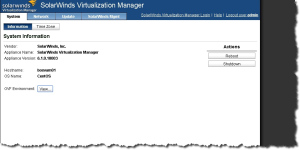
- Once I accepted I changed to the Help tab and saw this info.
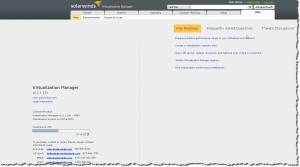
Note how we see the new version of 6.1.1.130? If we had looked before the upgrade - and I did but should have mentioned it - we would have seen 6.1.0.10003. So upgrade is good and we can log in and look at screens so that confirms our upgrade is successful.
Thanks for reading, and have a great day!
Michael
=== END ===

Leave a Reply