Hello all,
In this article I am going to help you install, configure and test Backup Exec. This is software that has been around a very long time and it shows in the depth of its features. However they have tied things together very nicely so it doesn’t necessarily show its age. As always there will be lots of pictures and suggestions on how to do it best. Questions and comments are always welcome.
I will also do another article on how to backup CIFS shares using Backup Exec but I thought we should get Backup Exec working first.
Prerequisites
- Documents (not that we really read them or anything) - Backup Exec (BE) tech support home, Admin Guide, Release notes and the compatibility guide. Here is a link to the Tuning and Performance Guide for BE.
- When you buy BE you get a license certificate emailed to you with Support ID which is important, but it is better if you have the *.slf which means you can import rather then type.
- Bits - you should be able to get them from a link when you purchase. I am using BE 2014 SP1 as part of this article.
- A Windows 2012 R2 server - a virtual machine in my lab, and part of the domain and fully patched. Don’t install to a drive that has dedupe or ReFS enabled.
- I added a 400 GB extra hard disk to my BE machine to use as a repository. I will be backing up approximately 30 virtual machines and I will see how the 400 GB works.
- Service account for BE to run. It should be domain users, and local admin.
Environment Check
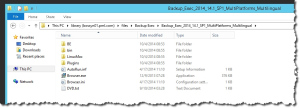
This is handy to run to make sure your environment is up to task. We will start from the location where you downloaded BE to and extracted. Should look something like below.
Once in the BE folder structure we will use browser.exe to start things off.
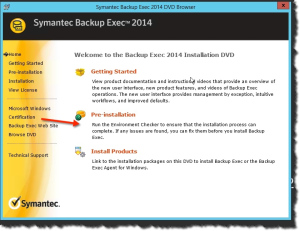
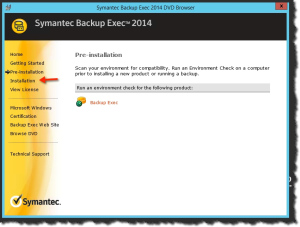
Once you click on browser.exe you will start things up and be at a menu like below.
We are interested in the Pre-installation option.
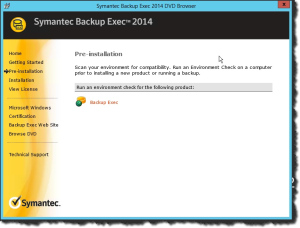
And yes, we are working with Backup Exec.
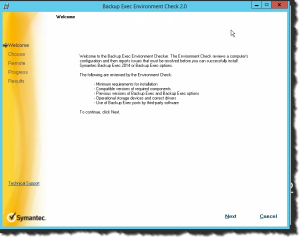
We see what is going to be done and we continue.
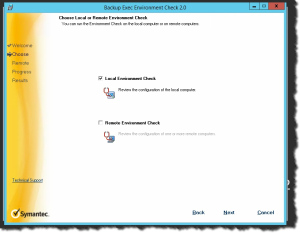
Nice we can do Local or Remote. Local is us right now.
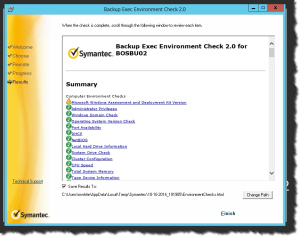
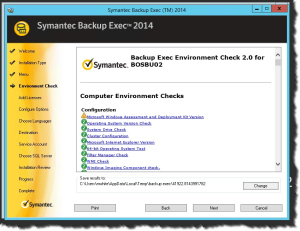
We came through this pretty well. There are two issues:
- Symantec AntiVirus - failed at that. Plus I use Trend right now. So no big deal I think.
- Microsoft Windows Assessment and Deployment Kit (ADK) - not installed and is important to do DR - such as created a simplified DR disk or image. Pretty handy but I am not doing DR so no big deal. Plus I can install this later if necessary.
I think it worth keeping the results just in case you need to talk to support at some point. We are now ready for the install.
Installing Backup Exec
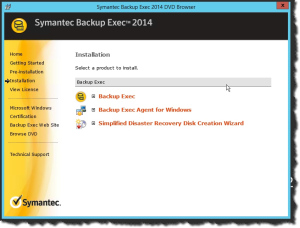
We start at browser.exe screen where we started before.
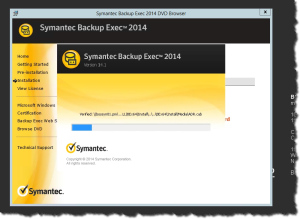
Once we start - by pressing Backup Exec as we see above we will see the following where Symantec is verifying the install files - nice to see actually.
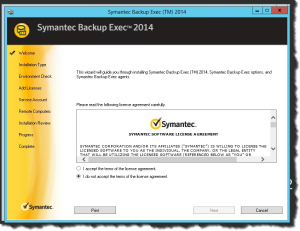
After this completes we see the start of the wizard.
And as you might expect, I read and understand the whole EULA and continue. Actually, I read none of it - does anyone?!
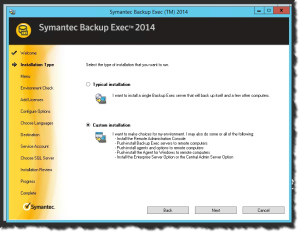
I do like to use Custom Installation when I can as I like to see options. Sometimes there is interesting stuff or more info.
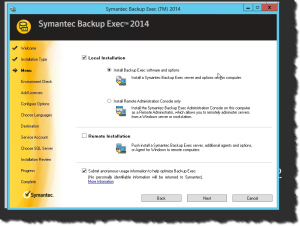
A number of interesting things here. I like to see default of Local but option of remote. I also like to see an obvious option to install the console. And I am a big believer in send the anonymous information as I know they can really help developers and support organizations.
Another check. Nice to see we pass it the same as before!
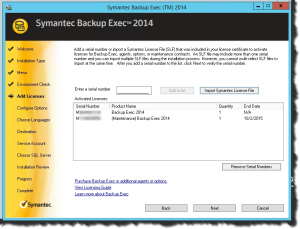
Here we can do our licenses. Type it in, or browse out to the .slf files. Avoid typing I say.
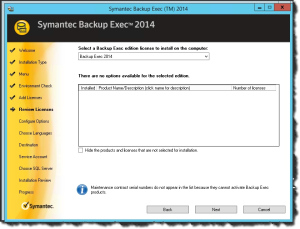
In my case, the license I applied was a relatively inexpensive one that really has nothing extra so we don’t see much above. We could use the drop-down field that shows Backup Exec right now and use Trial and it would let us install a bunch of different options that have 60 day licenses - or at least it should and has before but currently will not. I wonder if my license is somehow impacting it?
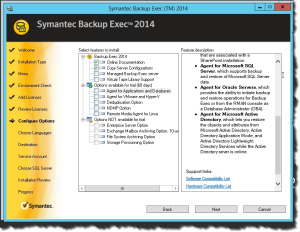
With my license there is not much selected, and I do not want to try any of the trails. My ideal set of options is around 4700 CAD and that is just crazy for my needs. Although many of the customers I did BE for in my old PS days would be very well served for that amount of functionality!
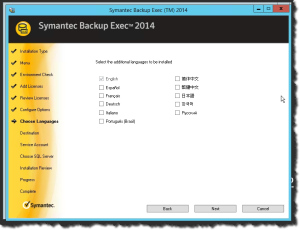
Language choice is easy but I am impressed at the choice.
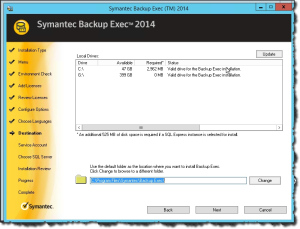
Default path and folder structure is good for me and generally worth doing. Sometimes I will use a different drive but same path structure to help have no issues. In my case here drive G is where I am going to put a repository for backups.
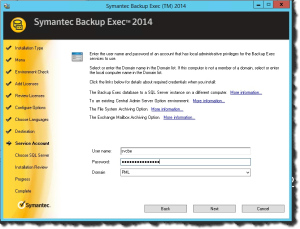
Here we define the service account that BE will run under.
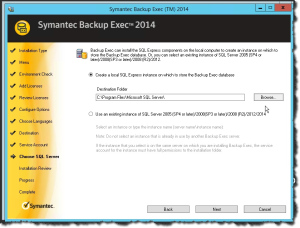
From my reading, it seems to be almost a best practice to use the local SQL express instance rather then an external SQL server. So that is what I am doing.
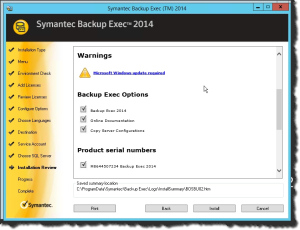
Now we have a summary and I really like how there is a copy of what is going to be install stored in the BE logs folder. Nice.
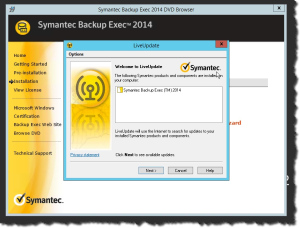
Once it finishes, it offers to run LiveUpdate (wow does that bring back memories) and to display the Readme. It also mentions to do Microsoft Update. Which is not a live message since I did before I started the install.
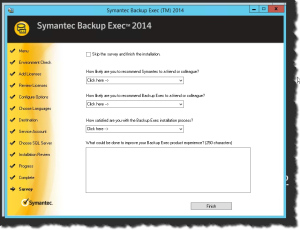
I skip the survey as I want to get a backup going. Plus I don’t want to be prompted about what I think about the product until I have used it for a while.
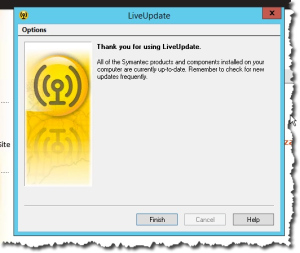
So here LiveUpdate goes. Nothing to update though.
Note that we are done, but what do we have? I see an icon on the desktop.
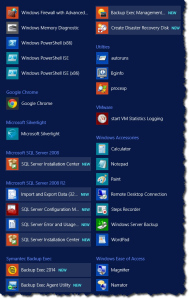
In the Programs area we see more.
But we need to know if it worked. I will start up BE using the desktop icon.
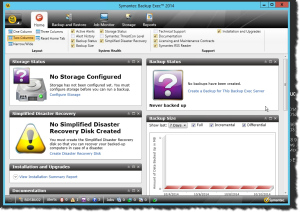
This shows that BE is in fact working. Not configured to do backups yet, but it works. Good stuff!!
So like the suggestion from the install program, I do in fact check Windows Update. I did do it before with all done but now I have a number of things. Including an update for SQL I am going to do it and see how it impacts things. Check out the patches:
Configuration
There is a variety of things we need to do before we can do a backup!
Basic
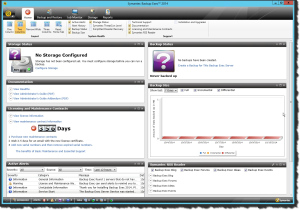
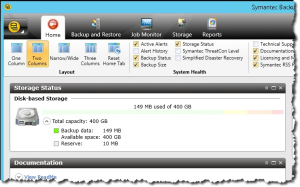
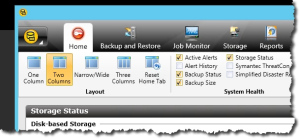
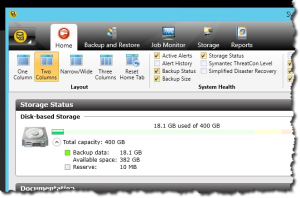
Lets start with tweaking the UI a little. It is pretty easy with the little X in the widgets and the check-box at the top. Here is what I like - right now anyway.
We need to tweak, and visit, some BE settings.
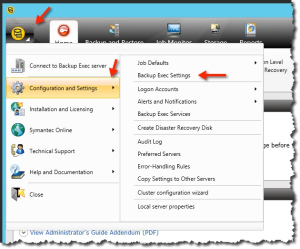
So point at the yellow odd icon at the top left, follow that by selecting Configuration and Settings, and finally select Backup Exec Settings.
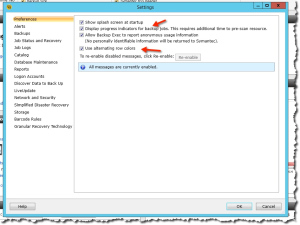
There are several things I like to turn on - the first is Display Progress indicators for jobs. During the initial backup jobs this is nice to see. When all has been proven you might turn this off again. As well I like the alternating row colors. Once things get busy and crowded that helps.
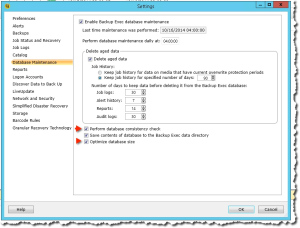
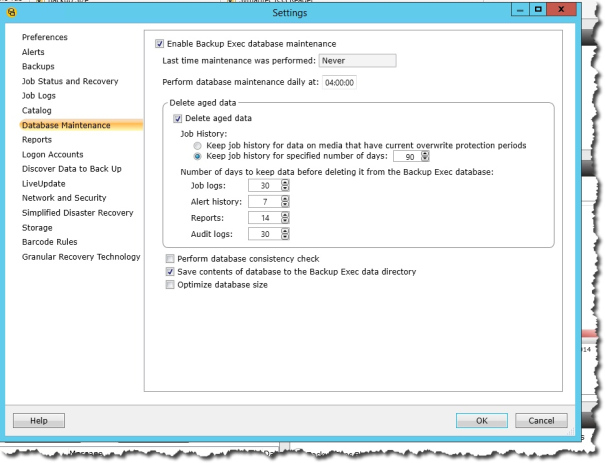
You may, or may not, want to tweak Database Maintenance (Update: thanks to Konstantin I learned that it is a best practice to turn on both Perform database consistency check, and Optimize database size). I know customers who need to manage their logs longer then others. The default is to keep history for only 90 days.
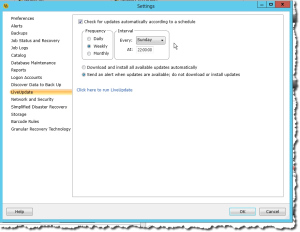
LiveUpdate is how updates are obtained, and they default to on, and check on Sundays. You may, or may not want to change that. I normally leave it as it is.
Notifications
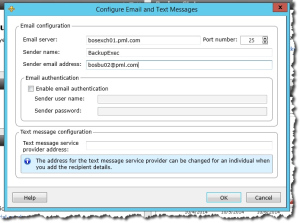
We need to enable some notifications now. First we will start with configuring an SMTP server option.
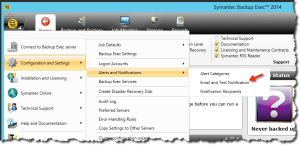
So we start with the odd yellow icon in the top left, follow it by Configuration and Settings, then Alerts and Notifications, and Email and Text Notification.
No test option here, so best make sure your SMTP server is configured correctly.
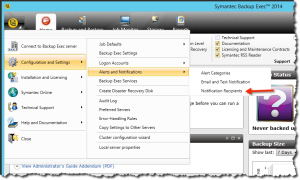
Now we use Notification Recipients to configure some alert destinations.
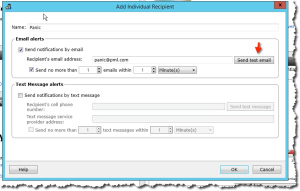
That will let us configure a recipient - like panic below.
I generally set one for me during the implementation phase, and once things are good send alerts to help desk instead. I will likely do an article on that.
Storage
We need to create a storage repository that we can use as a destination for our backups. I have no tape drive after all.
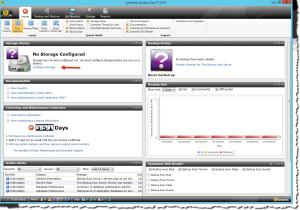
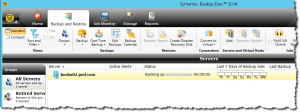
We start to create a storage repository for our backups at the main screen.
- You can see where we start the wizard to create the repository as it is indicated by the arrow in the screenshot above (Configure Storage).
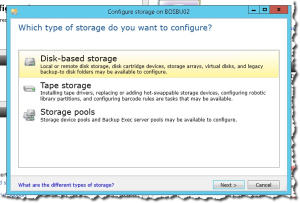
- We are doing Disk-based storage so the default choice is good.
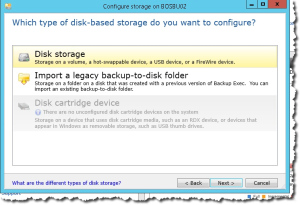
- Now we have to choose our disk-based storage type and again the default is good for us. If you did an upgrade, and were backing up to a local disk like we are this is where you could upgrade it.
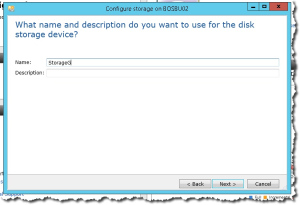
- We need to name and describe the storage repository.
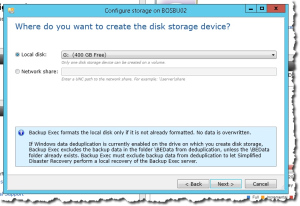
- We will be using the secondary drive (G:) we attached for our repository.
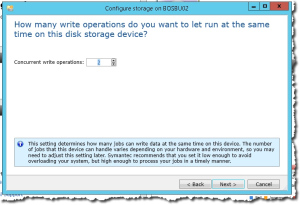
- This is an important decision. How many concurrent write operations. As we can see here Symantec decided to set the max to 2. I do not think that this should be changed - lightly. Before you chance this parameter - especially on your own without Symantec’s help, I suggest you make sure your disk is on a different controller then your drive C. After that then change the value by one or two and test again to see what the difference is. Do not do this by subjective process!
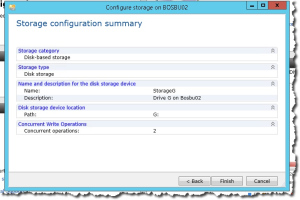
- We can see the summary of what we have done and can select Finish. It doesn’t take long and before you know it we are done.
We now have storage configured that will allow us to do backups!
Creating our first backup job
We need to configure our first backup job. I like to start small and test so that normally means one or two backup sources. I think I will start us off by backing up the BE server!
- Start at the main screen.
- We can see in the screenshot above that we have an option to create a backup job for the BE server. Lets use that as part of our test making sure the backup process works.
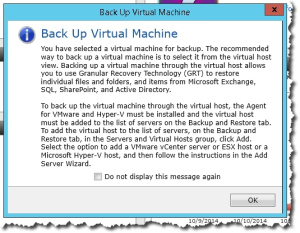
- Once we click on that option we get a popup message. Basically it is saying to spend more money - and while it is right I cannot. It is saying that backing up virtual machines can be better done via the host they run on. While correct it requires me to buy more agents and I don’t have budget for that. This will still all work. Be aware that if I had the budget I would be doing this with a VMware agent. But now we continue.
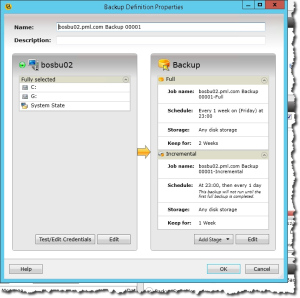
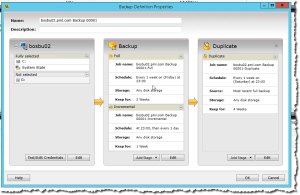
- We need to configure out backup job. We are at an interesting and well designed screen. There is a lot of power here but very little that needs to be change the first time.
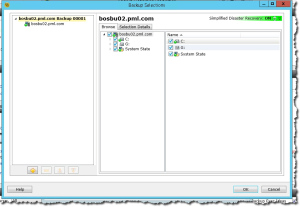
- Lets start on the left side of the screen and use the Edit button. After all we do not want to backup our repository.
- Once Drive G is deselected just hit OK as we are done. We want a quick test.
- We could wait to the appointed time for the backup to start. But we won’t.
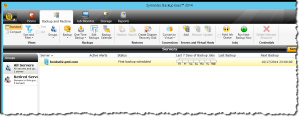
- Lets change to the Backup and Restore tab.
- We can now see our BE backup job in the list.
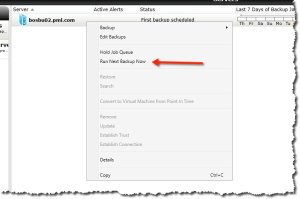
- We can right click on the job and select to Run Next Backup Now.
- We can see the start of the job immediately.
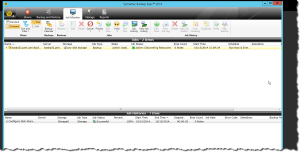
- However, I prefer to watch via the Job Monitor tab. Lets check that out.
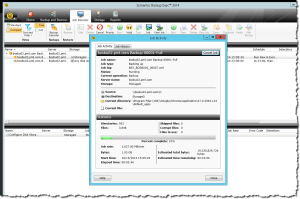
- If you expand the job, and then double-click on it you will see even more info. I like this screen - it has lots of good info.
Did our backup work?
We can check the UI to see if it did, but there are a few ways to do that.
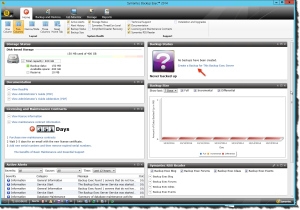
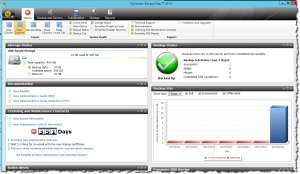
From the main screen we can see the status of the backups.
- Note how we can see one successful backup job in the Backup Status tile? That is good as that is our first backup. Note also in Storage we have some disk used too?
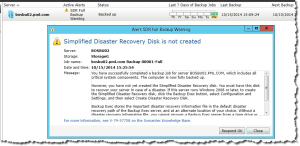
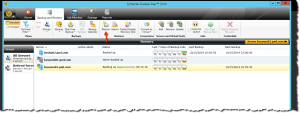
- Now in the Backup and Restore tab it looks a little more interesting. We see Backed up for our job status. But we see an Active Alert.
- When we double-click on the active alert we see more about it.
- I think the Simplified Disaster Recovery disk not being create is acceptable. So I select Respond OK. I have also now removed it from the job so this alert will not occur again. When I learn what the disk is I will re - implement if necessary. It does sound good though.
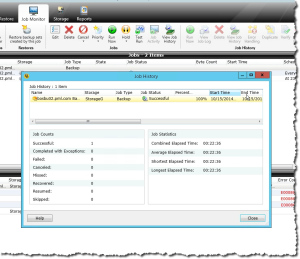
- We can see now outstanding alerts so our job looks good. But for a better look at the job history we should change to the Job Monitor tab, and select View Job History.
So we can see that our backup job really has gone well. That is important to know and now we can go on and do a better test - by restoring!
Restore a file
We need to confirm we can restore file. That is the only way to make sure things are working. And we should do it every now and again. So here we go.
- So like always we will start at the main screen.
- But we change to the Backup and Restore tab.
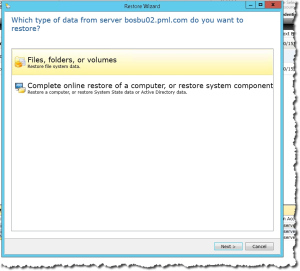
- We use the Restore option from the menu bar - as seen above indicated by a red arrow. Important note is that whatever server you have highlighted when you press Restore will be the subject of the Restore Wizard when it starts.
- We would like to restore a very important file - restore_me_pls.txt.
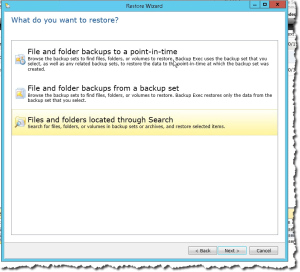
- Now it just so happens I am NOT using the default choice above. I do not want to complicate things, and since I know the name of the file to restore I am going to search for it so I select that option.
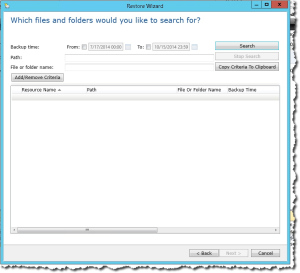
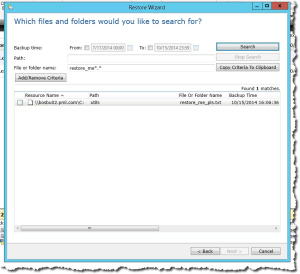
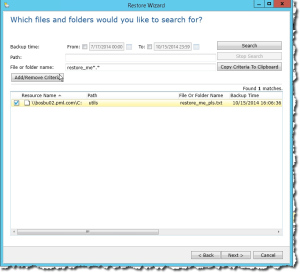
- So we have a search screen now. I will type in some of the name - restore_me*.* and we will see what happens.
- We can see that one file was found and it looks like the right one. We can see from where, and when it was backed up and that can be handy.
- So we select our resource check-box and continue.
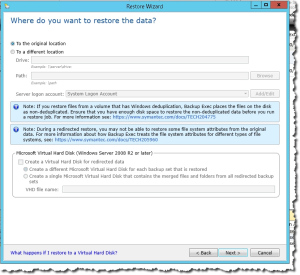
- We will restore to the original location - by default - but we can see the options here that allow us to restore elsewhere. Note also the warning about restoring files from a volume that was deduplicated to one that isn’t you need to make sure you have space.
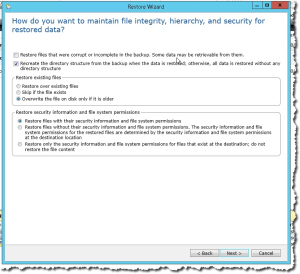
- Now we get prompted about managing file integrity, hierarchy, and security which is great but overkill for us right now. But yes, nice to see options.
- Now we are quizzed about restoring operating system features so again we will just Next through it and appreciate the options.
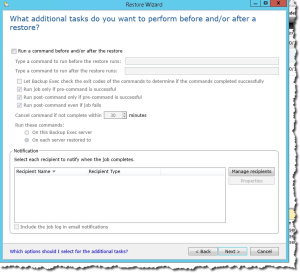
- The additional tasks now is quite a list, and generally we will not need them. However, one is particularly useful and that is Notification. Nice to let a user that asked you to restore a file know directly when it is done without your impact. Normally I use it to notify me, then I double-check, then I let the user know!
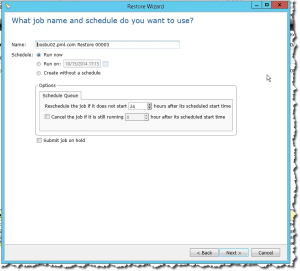
- We need now to name, and pick a time. Again I use Next as my decision.
- Now, finally, we are shown a summary. No more questions and we can get on with the restore!
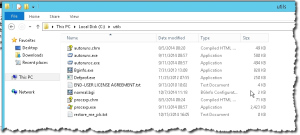
- However, the restore went so fast there was nothing for me to record. Other then the restored file.
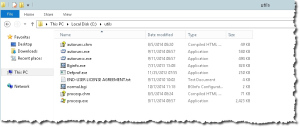
- This is not so impressive since I did not show you the orginal shot of the folder.
So yes, we have confirmed that our Backup Exec install was done properly and we did that by doing a file level restore which I think is often the more commonly done restore action.
Things to Think about
- Using the install program you can install a remote console (Custom install, Local, Remote Admin Console only) to your desktop so you do not work on the BU server console. That is good hygiene.
- The default job config
- includes verify after each full and each incremental. That does add to the job length. You may want to modify that - maybe. Some customers do verify after full but not incremental.
- You can enable Test run for backup jobs which is useful when you are setting up jobs for the first time - especially complex ones.
- I like to use notifications that the job has triggered.
- I love the feature where you can copy the backup to another location. Very handy! Many people should use this so your backed up data is not on the same physical array!
Audit Activities
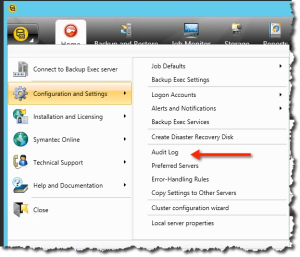
I think it worth pointing out that Backup Exec has an interesting audit function. You find it by pointing at the yellow icon in the top left, and select Configuration and Settings followed by Audit Log.
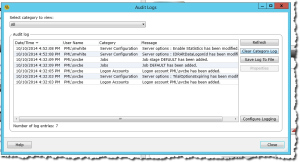
Once select you see the audit logs. It defaults to show all categories which is handy. Here is what it looks like after my install.
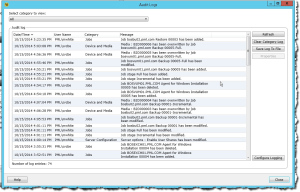
Here is another look after working for a few days, with backups and restores.
I think that this is a useful tool to check things out, for example it was the best place to find evidence of my restore after it had completed!
Conclusion
BTW, before the end of this, and before I published this article a second batch of Windows Updates occurred - 11 to be exact and they did not harm BE. I was not really worried about that except for SQL related patches and so far nothing went wrong.
This long article has gone through you getting Backup Exec installed, and doing your first backup, and even a restore. This was necessary to confirm that the Backups would in fact work, and more important that the restore would occur too. Along the way we saw some interesting spots to look to help monitor jobs, but also some suggestions about of what you should look at in the future.
What is next you ask? For sure I will do another BE article on backing up CIFS shares, and maybe one on restoring a complete VM. The CIFS backup is going poorly so I will need to figure it out before I share an article on it.
Comments are always welcome!
Michael
=== END ===





Hi Michael,
in the “Database Maintenance” section you should always have the “Perform database consistency check” and “Optimize database size” option checked. This is a common best practice.
Konstantin
Great to know, thanks very much. It definitely makes sense. Thanks for the info!
I will update the article.
Michael
Did you load the software on the hyper-v or did you load it on a vm running Windows 2012 r2 os. The reason I ask, If I load the software on the hyper-v, do I need the agents for the window VMs. Or can I just get by, by loading the software on the hyper-v machine and by the hyper-v agent?
My configuration is as follows: one hyper-v server, running two VMs. One VM is domain controller the other is file/print server.
Hi George,
I am a VMware type guy so I installed things in virtual machines running on VMware. I did not buy agents and yet I was able to backup other Windows VMs just fine. I believe that the same would be true for you in Hyper-V.
Michael